
COOL PUMPKIN DESIGNS
Cool pumpkin carving ideas and designs
The pumpkin designs that stand out use more than one level of light. Combine full cuts that glow bright with etched areas that glow dim, or carve one bold silhouette or scene instead of a face. The ideas below go from a strong silhouette to shaded portraits.
Free stencils to print
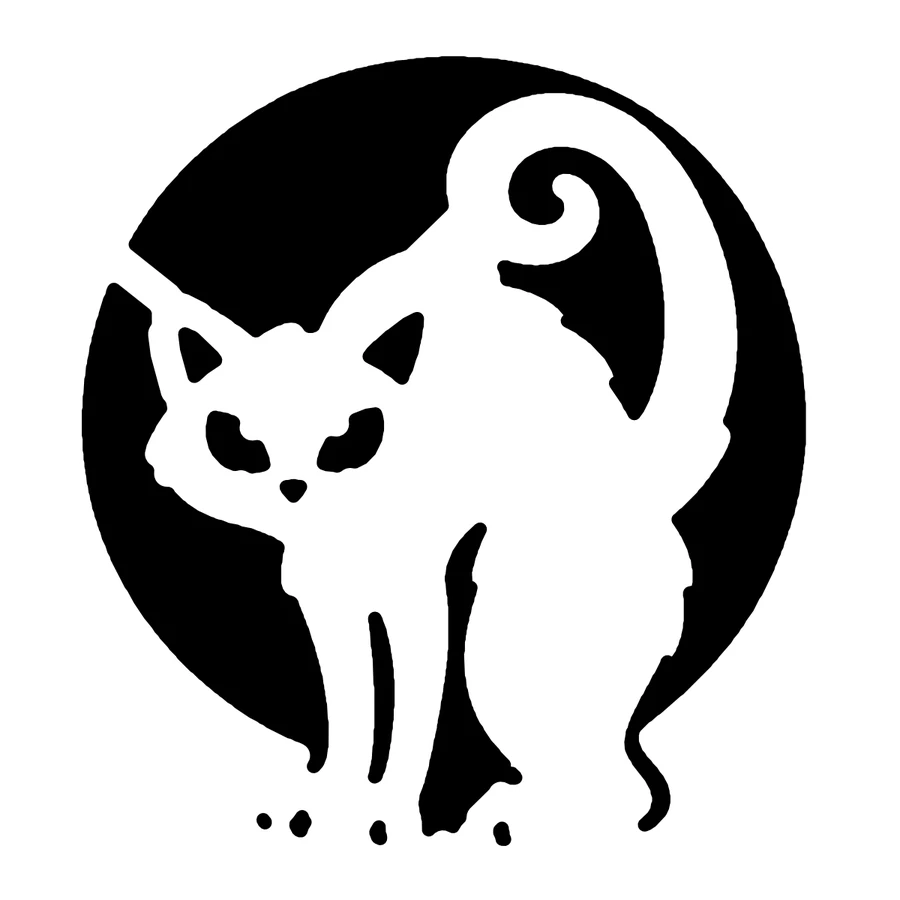
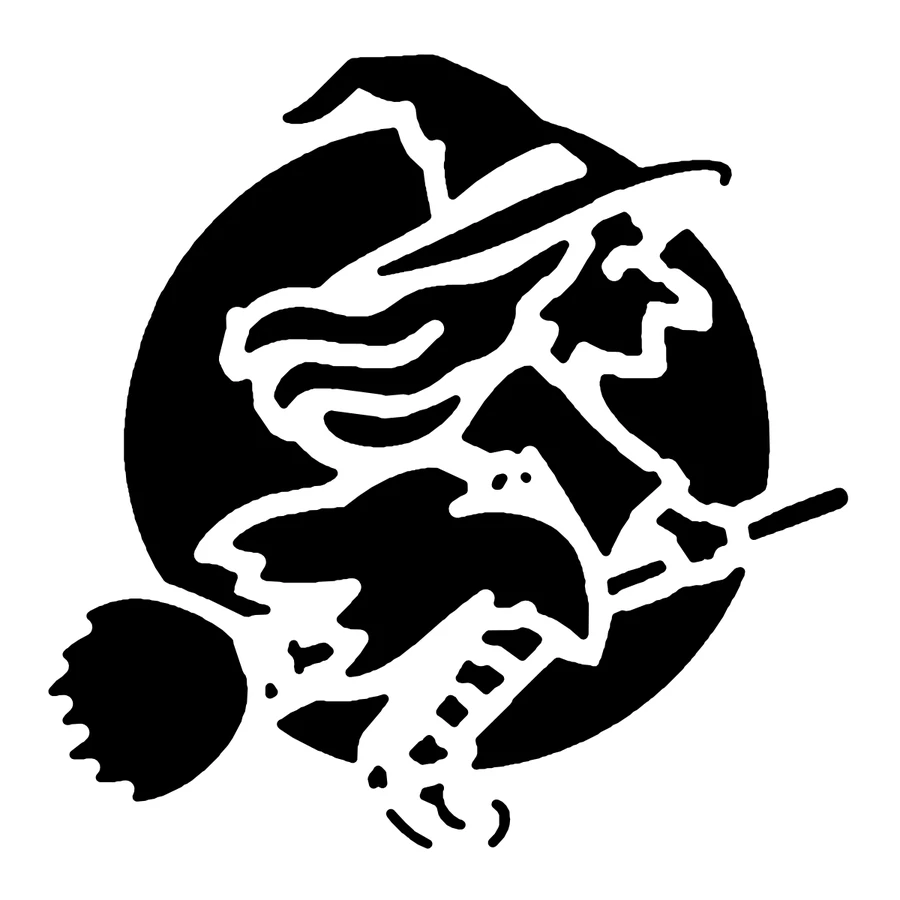
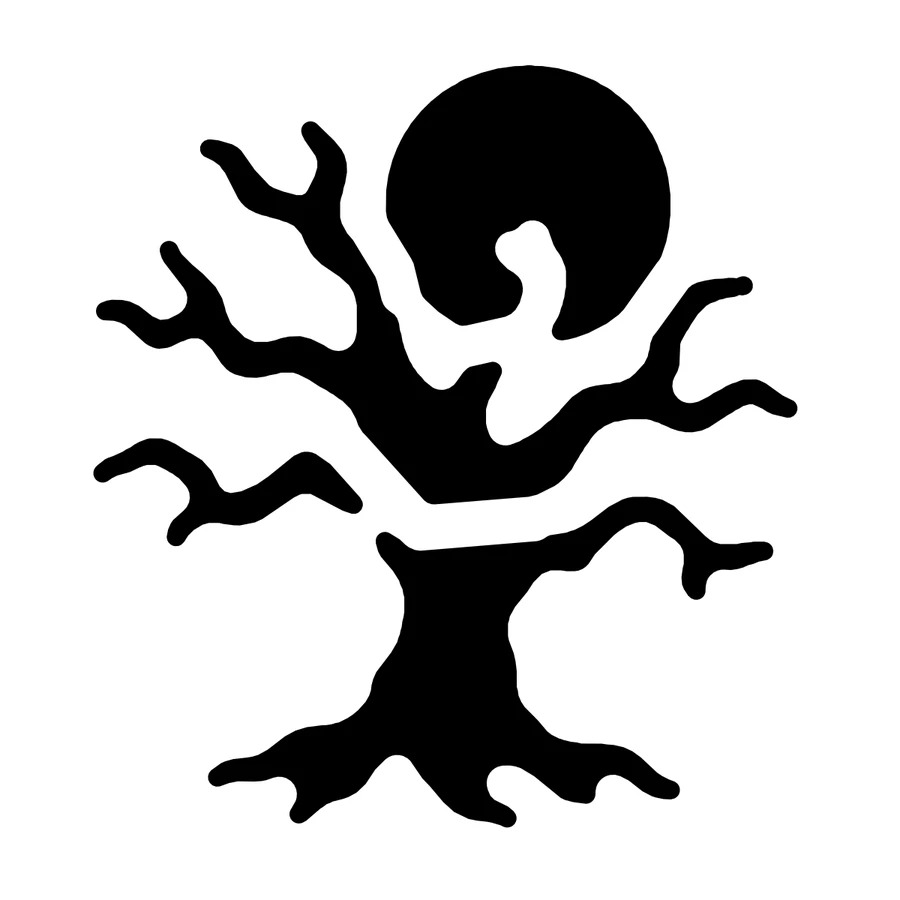
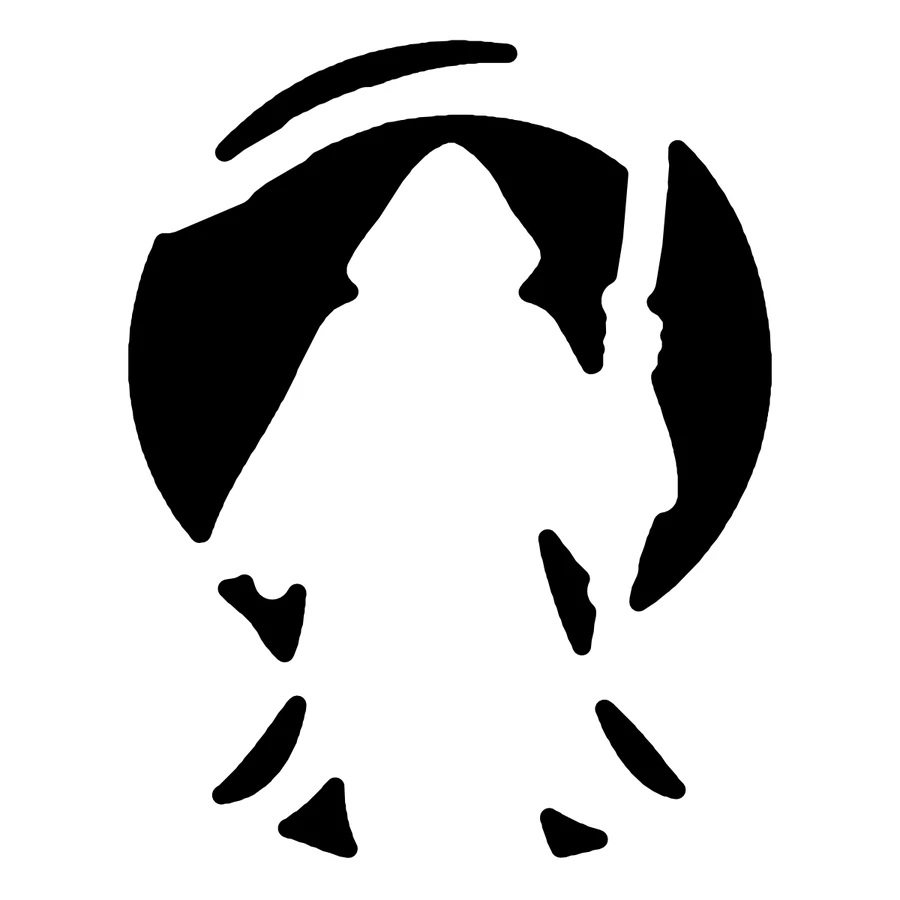
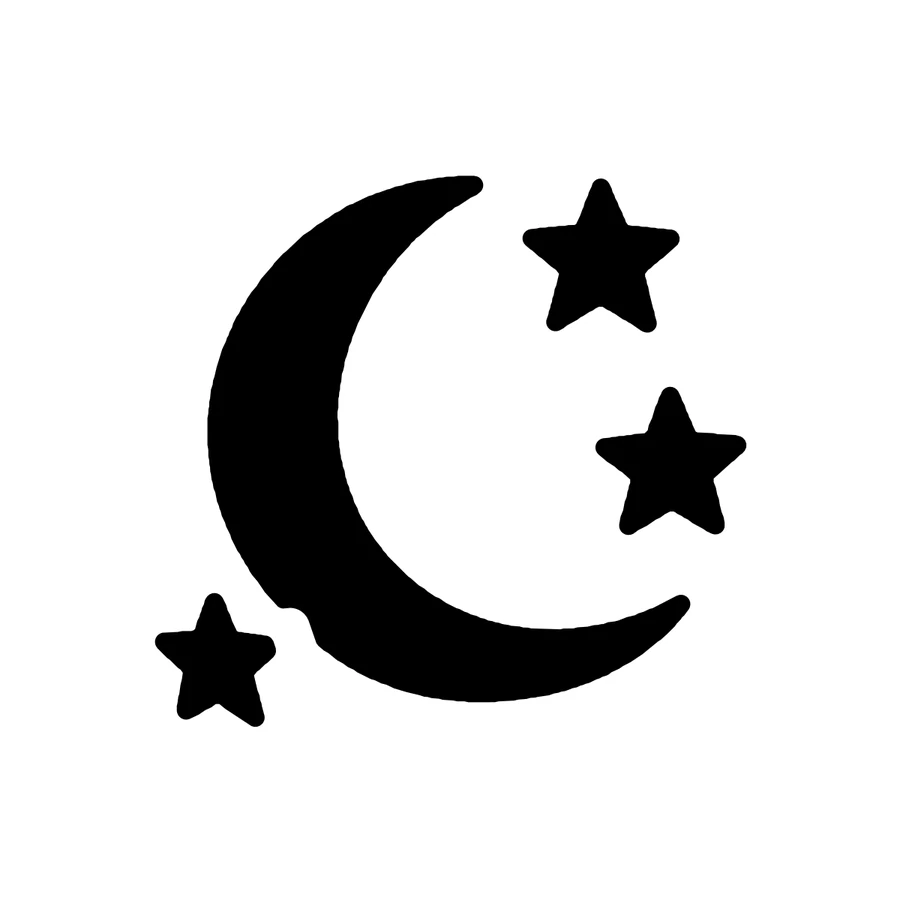
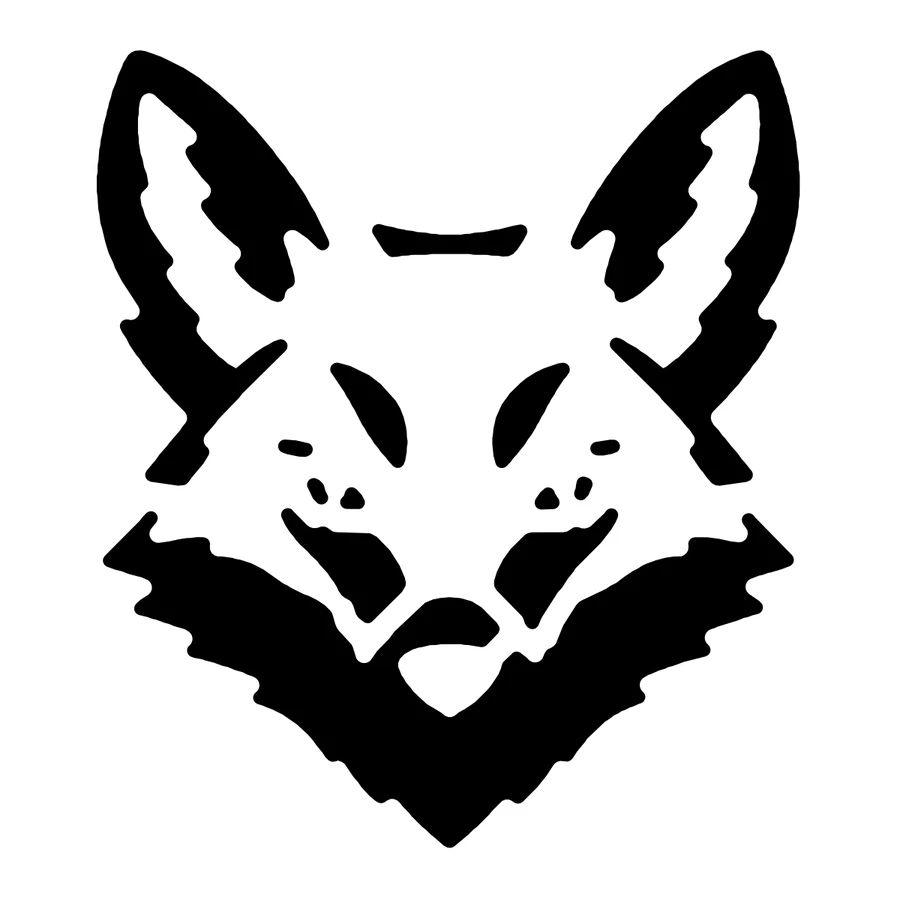
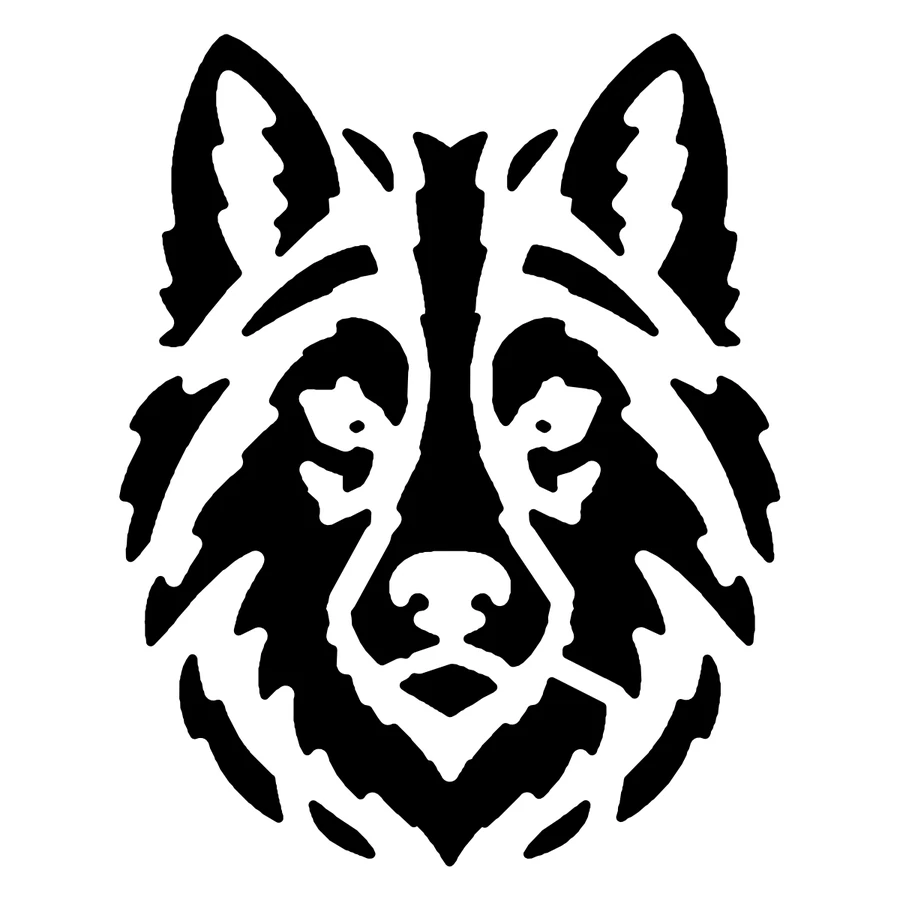
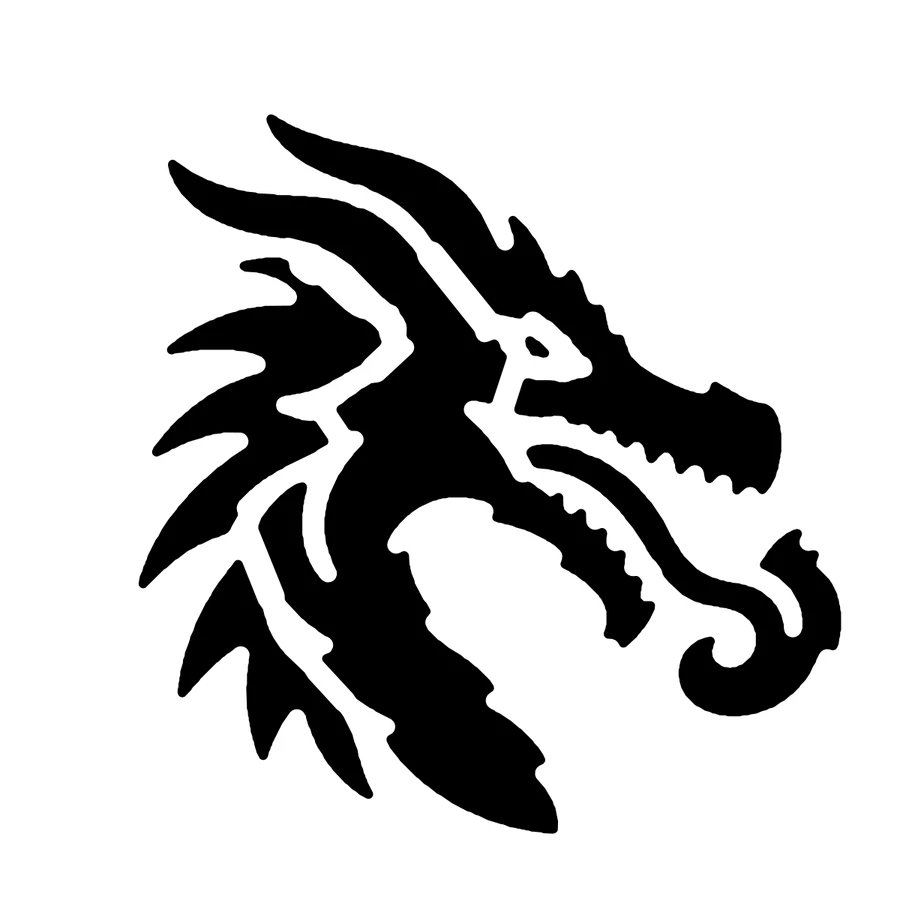
Each one prints at actual size on Letter or A4 and passed our carving checks, so every piece stays attached. Black areas are cut away and glow.





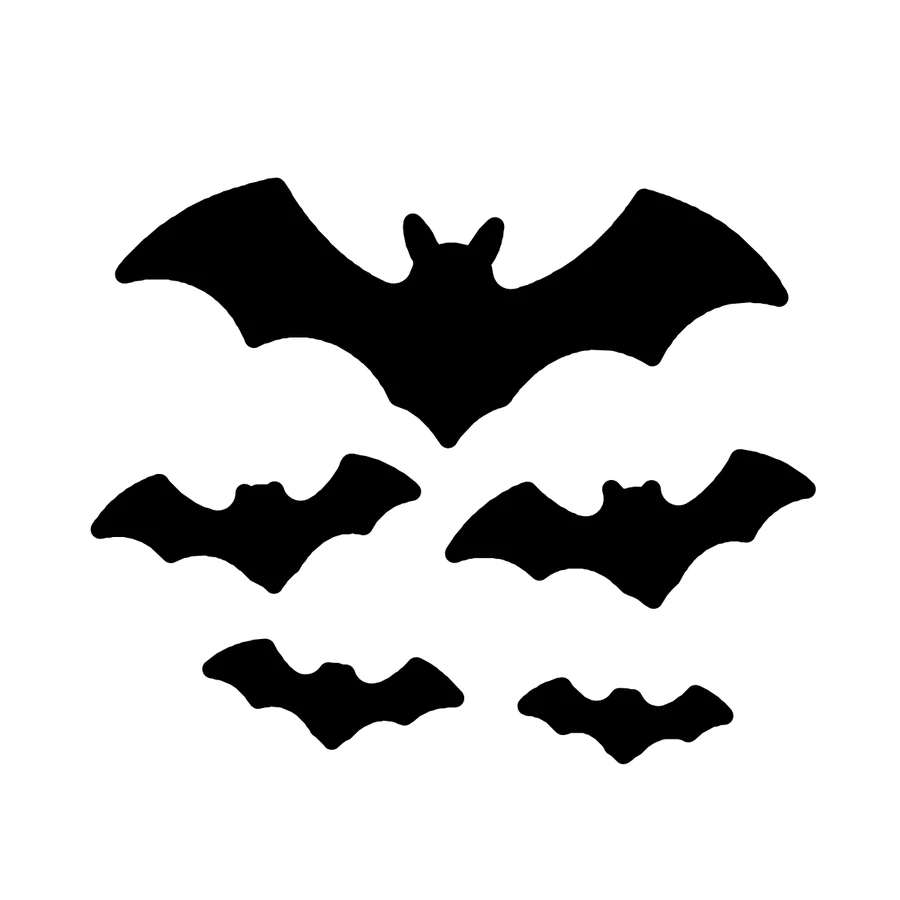
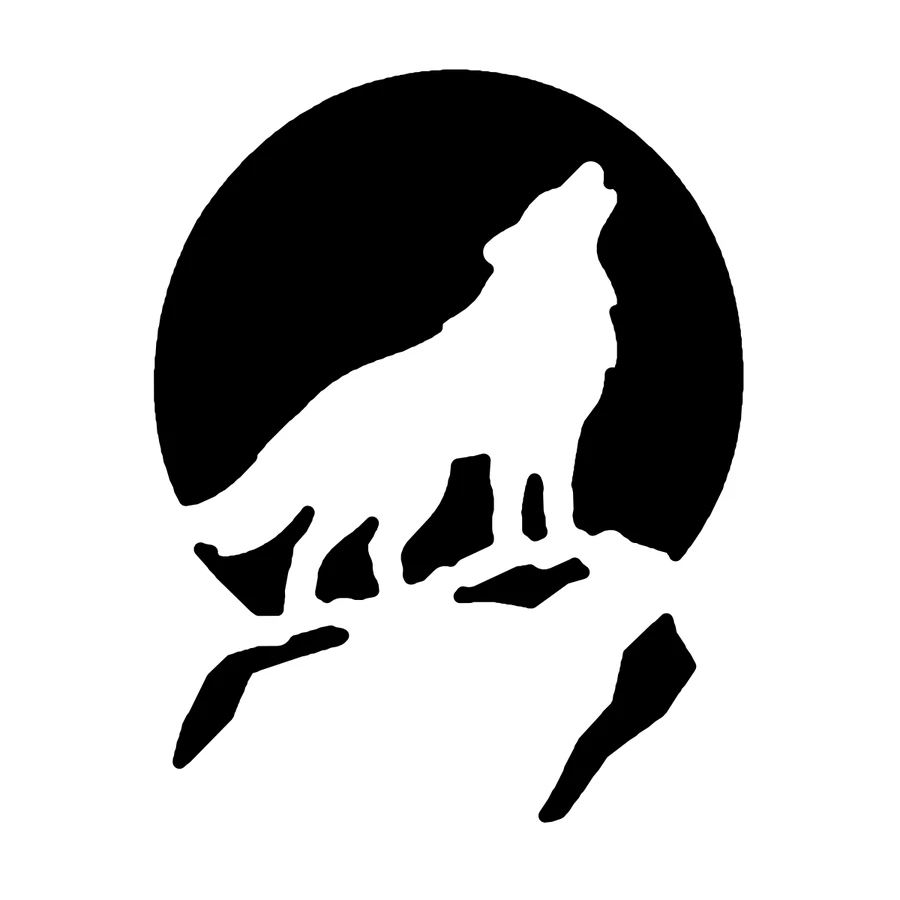
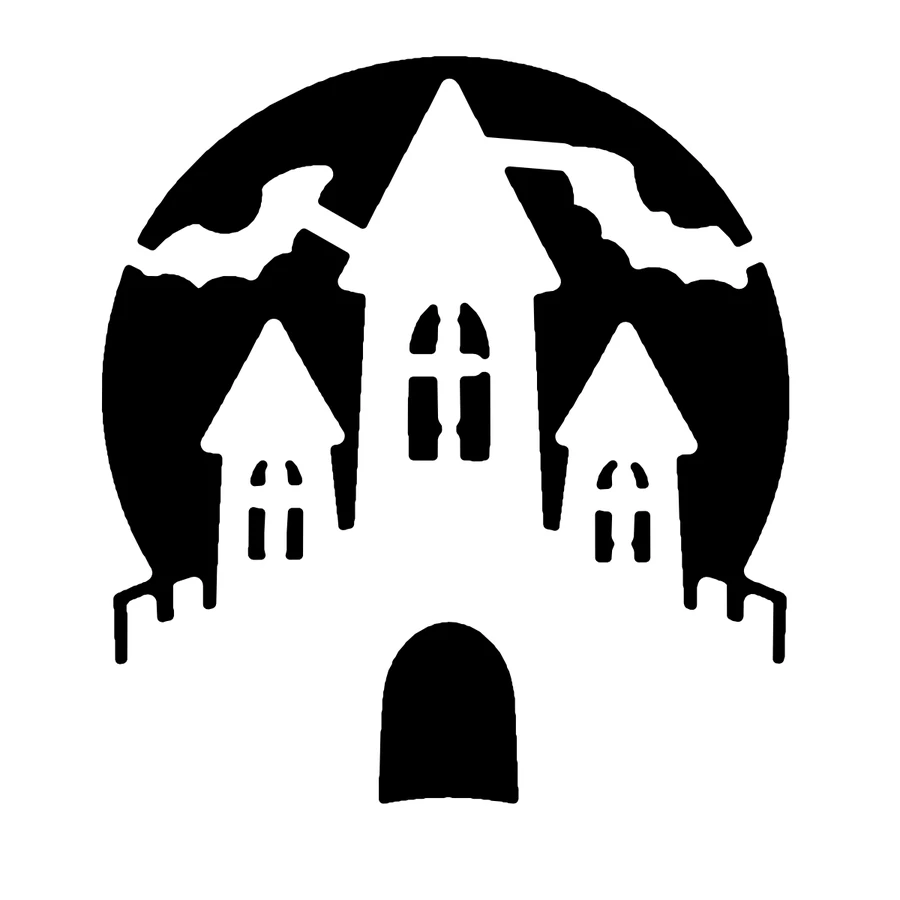
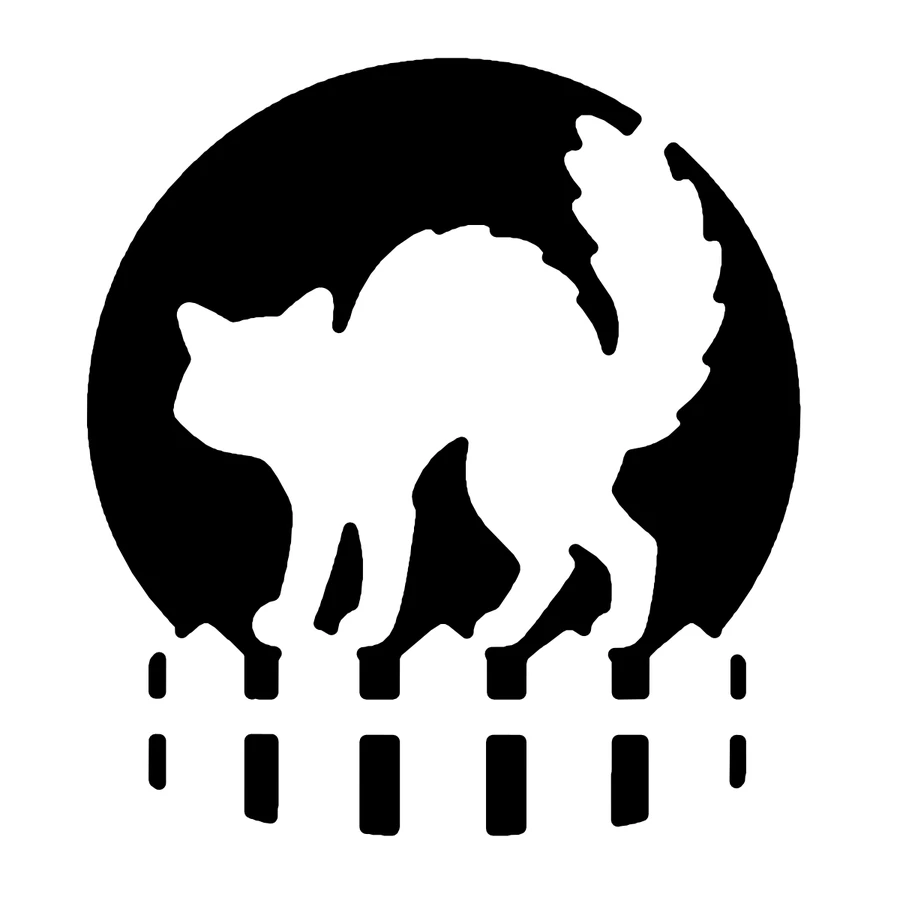

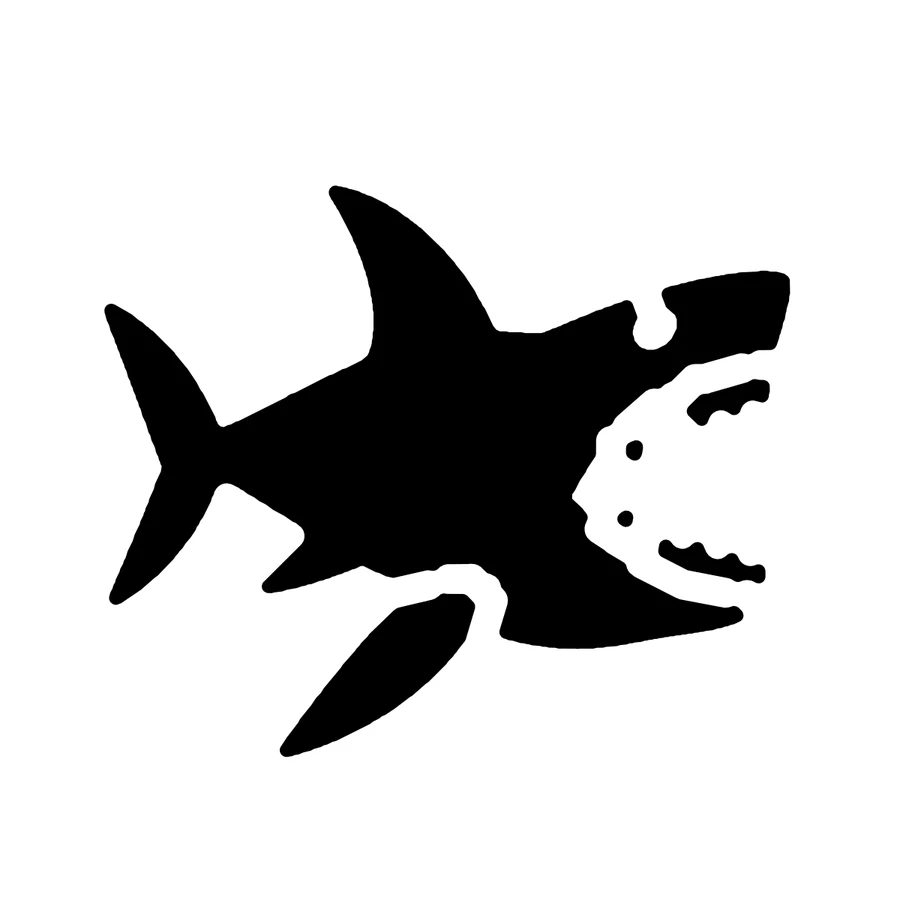
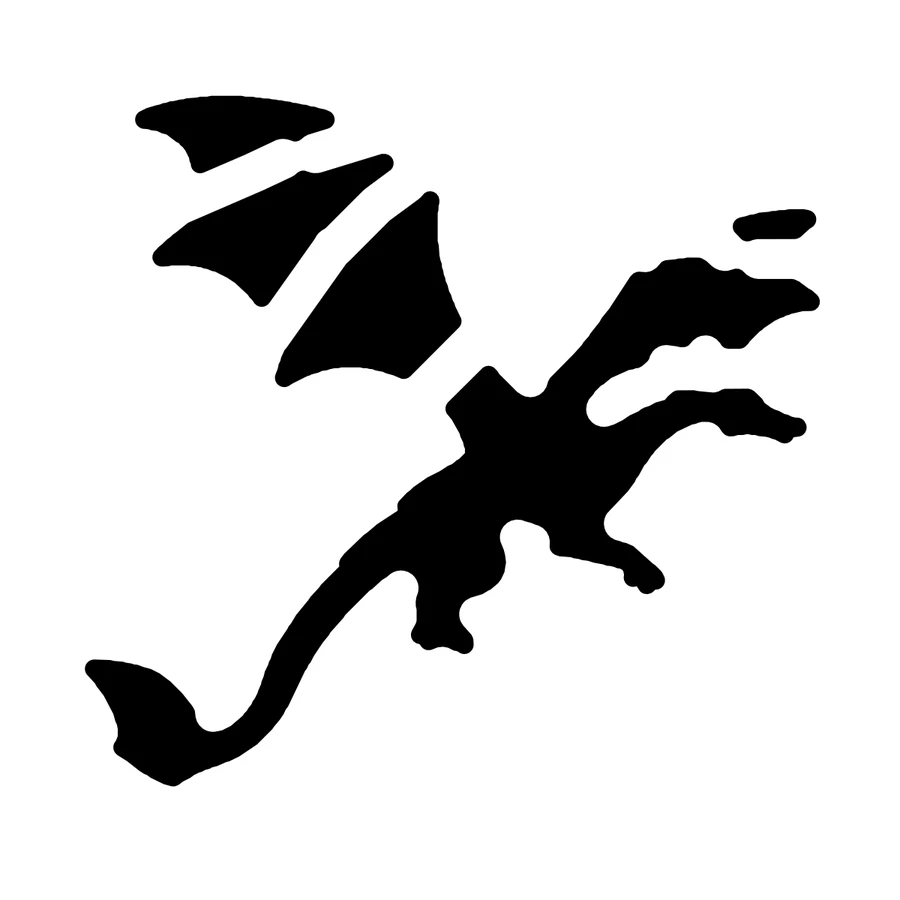
Ideas
Bold silhouette scene
Cut a full moon as one large glowing circle and leave a black cat, a witch on a broom, or a howling wolf as dark pumpkin in front of it. Join the figure to the edge of the moon in a few places so it stays put.
Haunted house skyline
Cut the sky as the glowing area and leave a house with a pointed roof, a crooked tree and a fence as dark wall along the bottom. Small cut windows in the house add a second layer of light.
Etched and cut together
Cut the brightest parts through, like eyes or a moon, and scrape the skin off for softer areas like fur or clouds. The two levels of glow give the design depth that a cut-only pattern cannot.
Shaded portrait
Etch a face in two or three depths: shallow scraping for mid-tones and deeper scraping for highlights, with only the very brightest spots cut through. Work slowly and check it with a light inside as you go.
Geometric pattern
Cover the pumpkin in repeated triangles, diamonds or a honeycomb grid. Use a paper template so every shape matches and keep even strips of pumpkin between them.
Drilled constellation sphere
Drill dots in several sizes over the whole pumpkin, not just the front. With a bright light inside, it throws spots of light on nearby walls.
Wraparound design
Let a snake, dragon tail or vine wrap all the way around the pumpkin so it looks good from every side of the porch.
Two-pumpkin stack
Stack a small pumpkin on a larger one for a head and body, or set two side by side so one scene continues across both. Cut a hole in the top of the lower pumpkin so the light reaches both.
Photo-based pattern
Turn a photo of a pet, a person or a favorite place into a simplified pattern of glowing shapes. A good pattern keeps the shapes that make the subject recognizable and drops the rest.
Carving tips
- Scrape the carving side of the wall thin from inside before etching. A thick wall stays dark even where the skin is removed.
- Use a pin tool or pushpin to poke the pattern outline through the paper, then connect the dots on the pumpkin with your saw.
- On detailed designs, cut from the center outward so the strongest wall supports you as long as possible.
- Turn the lights off and check the design with a light inside before you finish. Mistakes that look small in daylight can show up clearly when lit.
- Choose a pumpkin with a smooth, flat face for detailed work. Deep ribs distort fine shapes.
More help: Pumpkin carving tools.
Carve something that's yours
CarveKin also makes a pattern from your own photo: your dog, your cat, your kid. We draw a few designs, repair them so every piece stays attached, and you print the one you like at the size you choose. One pattern is $4.99.
Make a pattern from your photo
More pumpkin carving ideas
Stencils were drawn from AI-made sample images and illustrations. Glowing views are digital previews, not photos of carved pumpkins.