
JACK-O'-LANTERN FACES
Jack-o'-lantern faces and face stencils
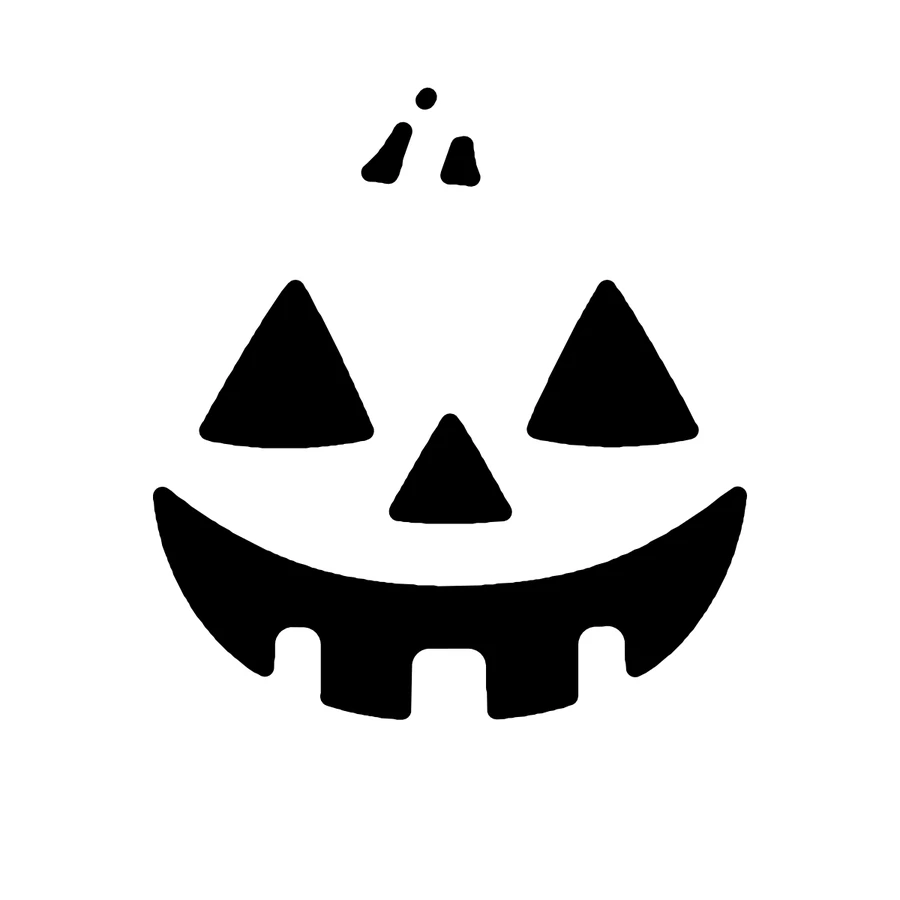
A jack-o'-lantern face is three choices: eye shape, nose and mouth. Triangle eyes with a toothy crescent smile is the classic. Changing the angle of the eyes or the shape of the mouth gives you happy, angry, sleepy, surprised or spooky faces with the same amount of cutting.
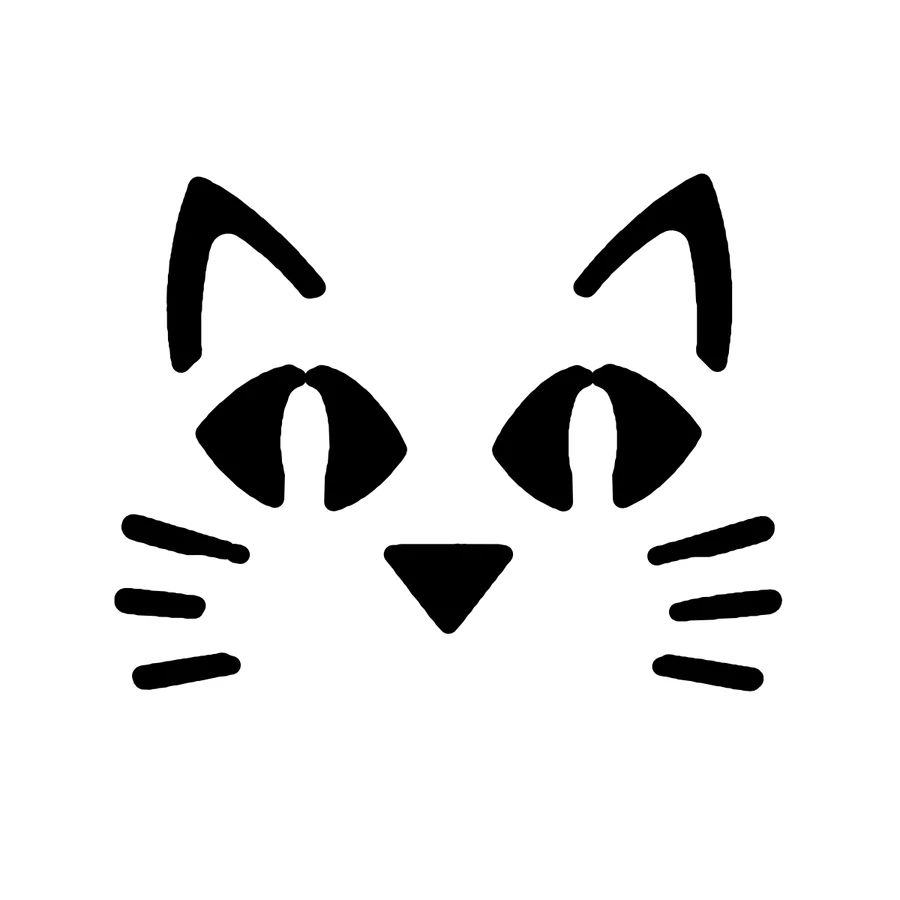
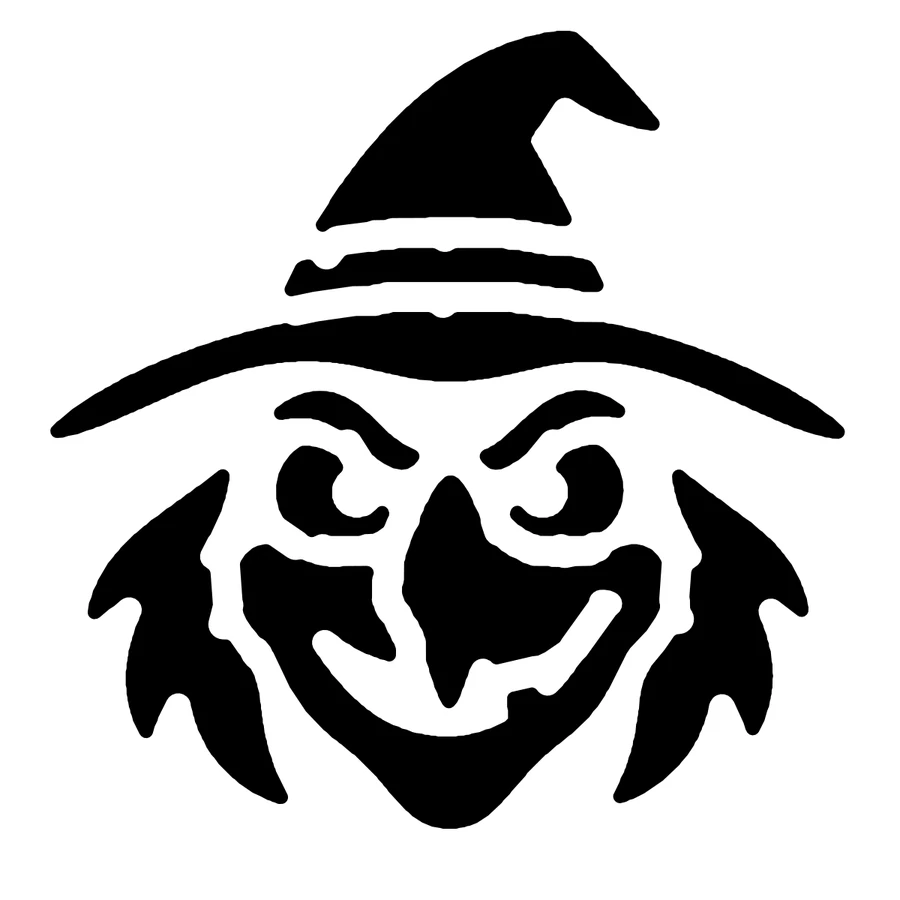
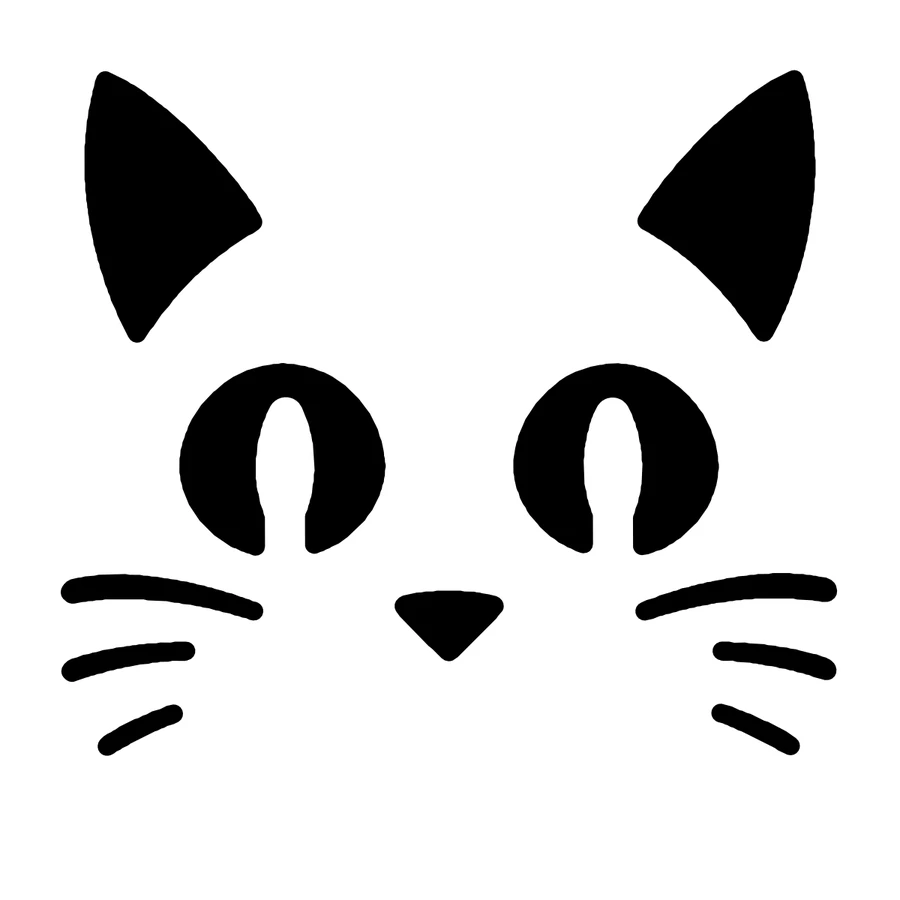
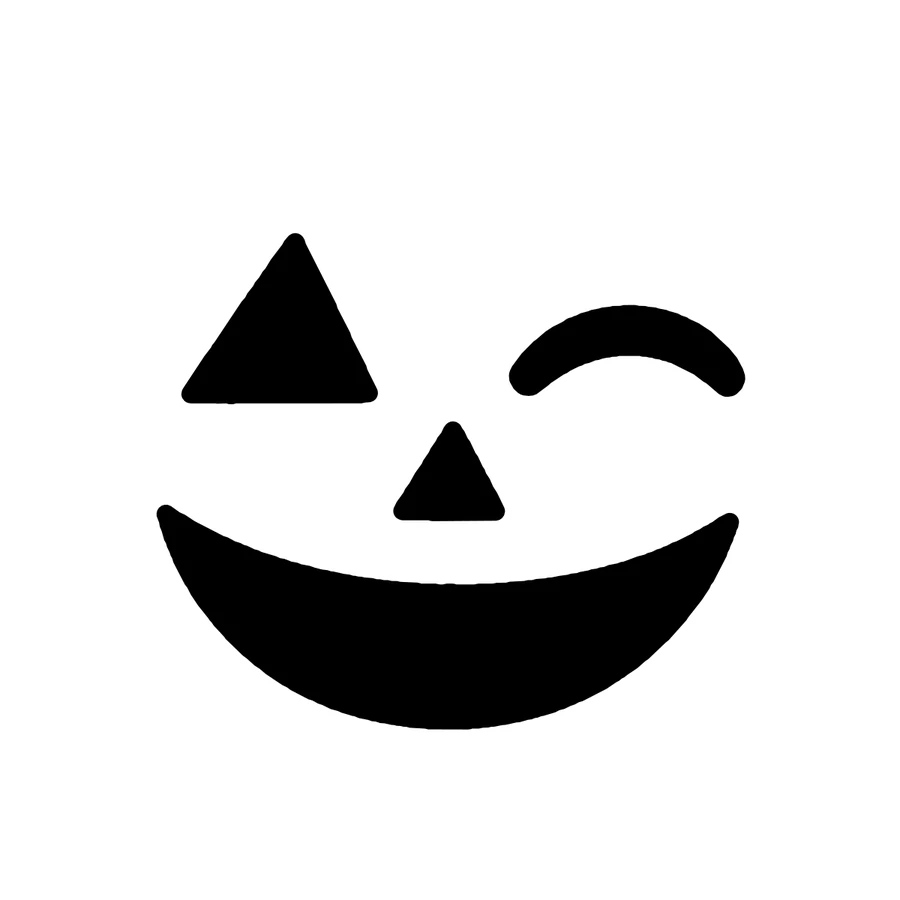
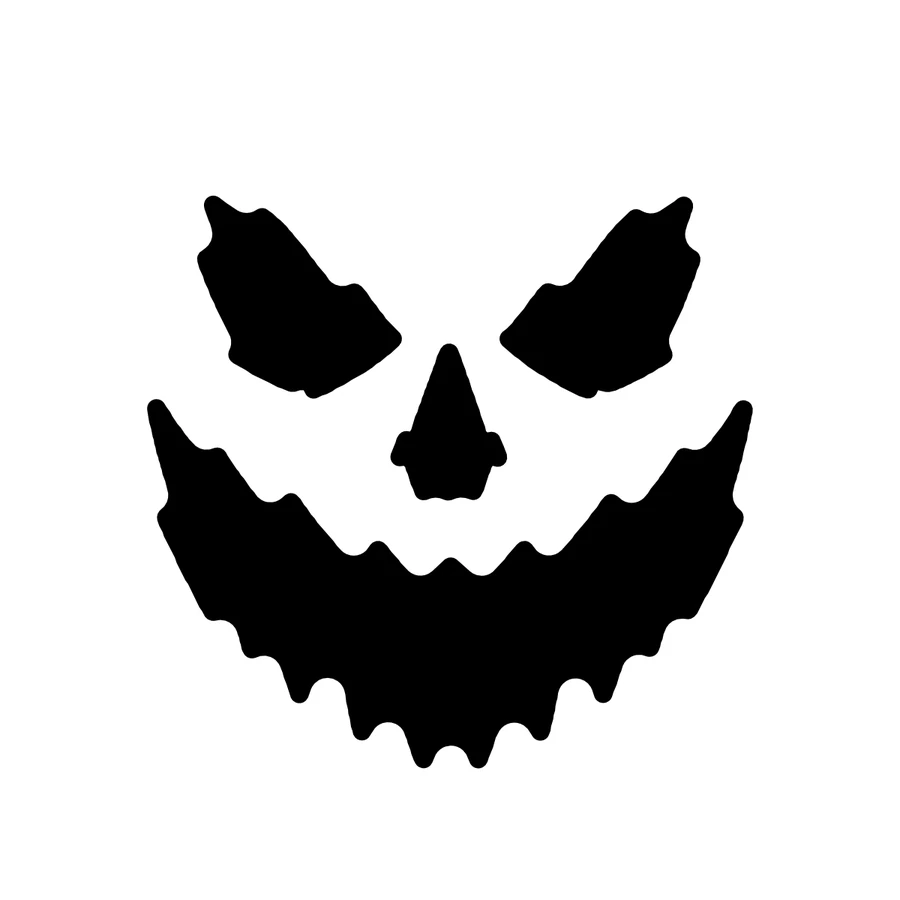
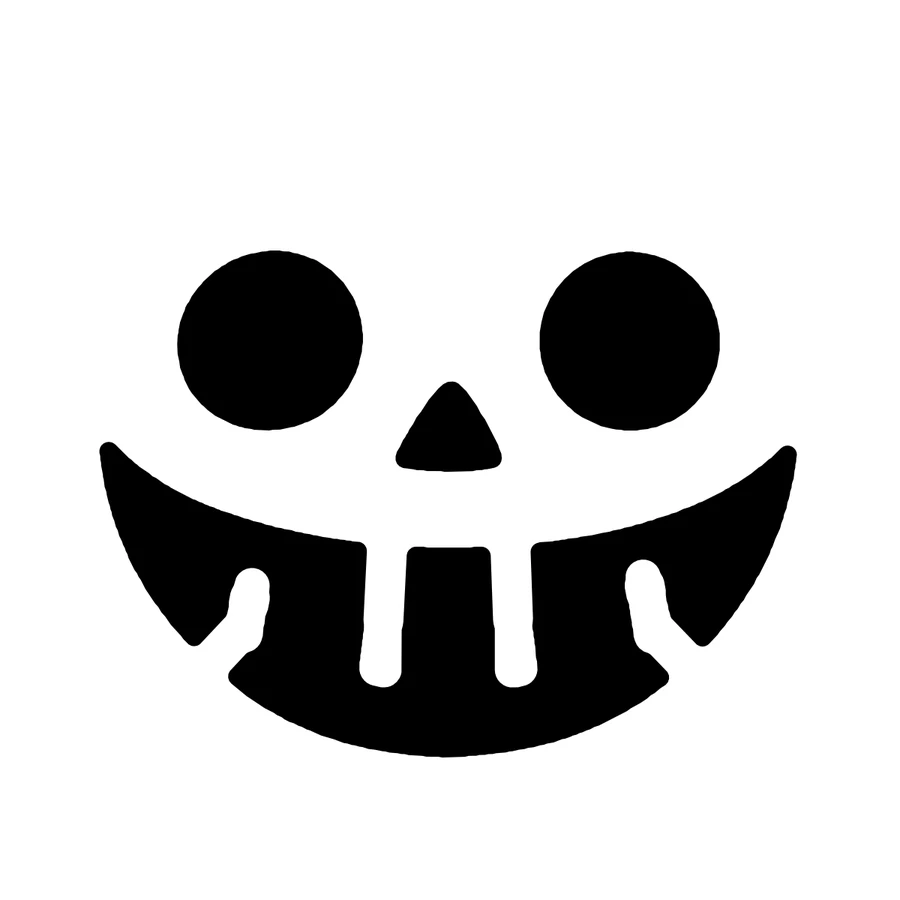
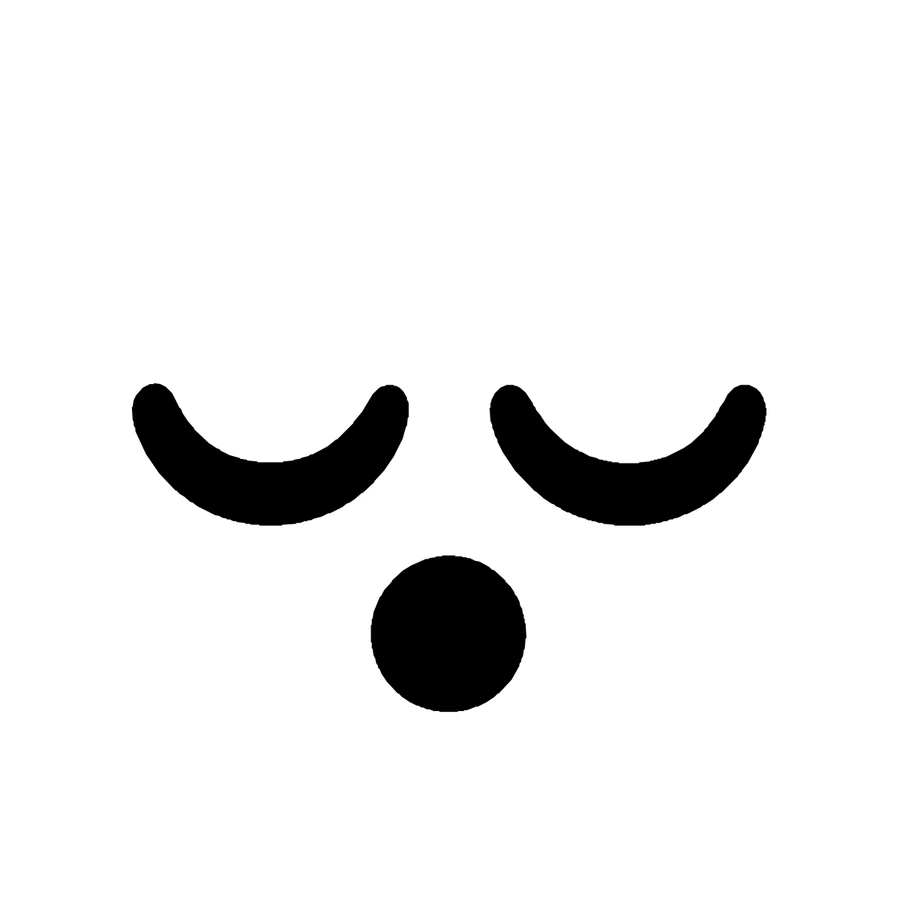
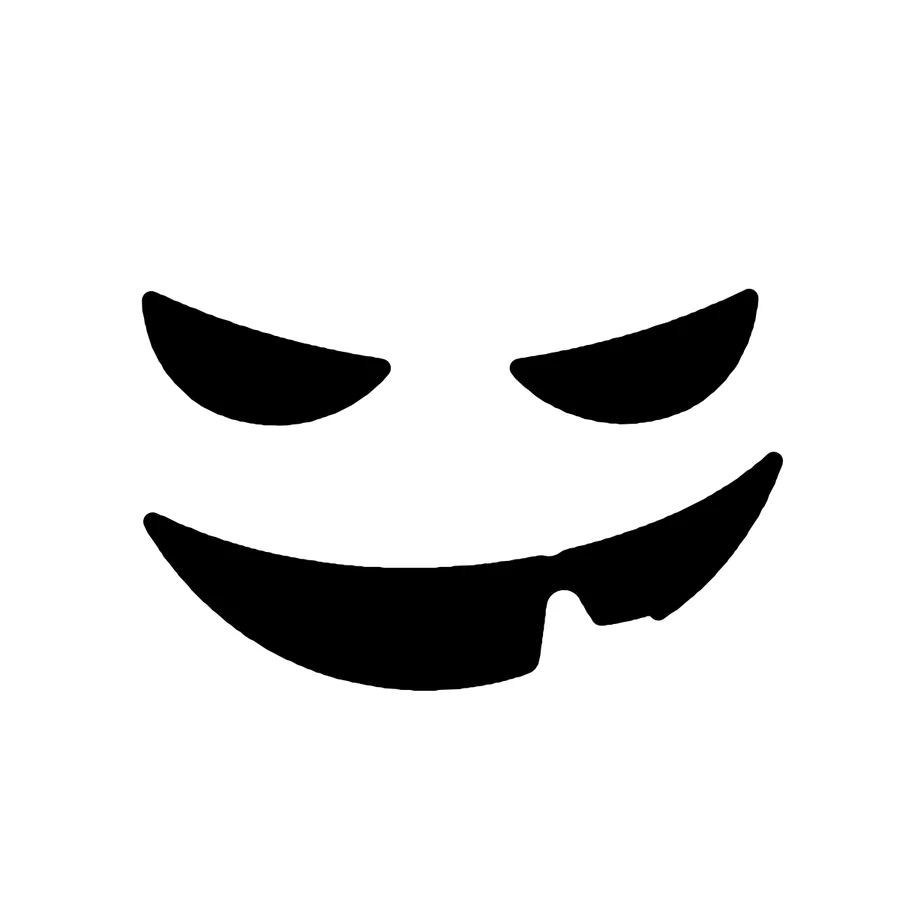
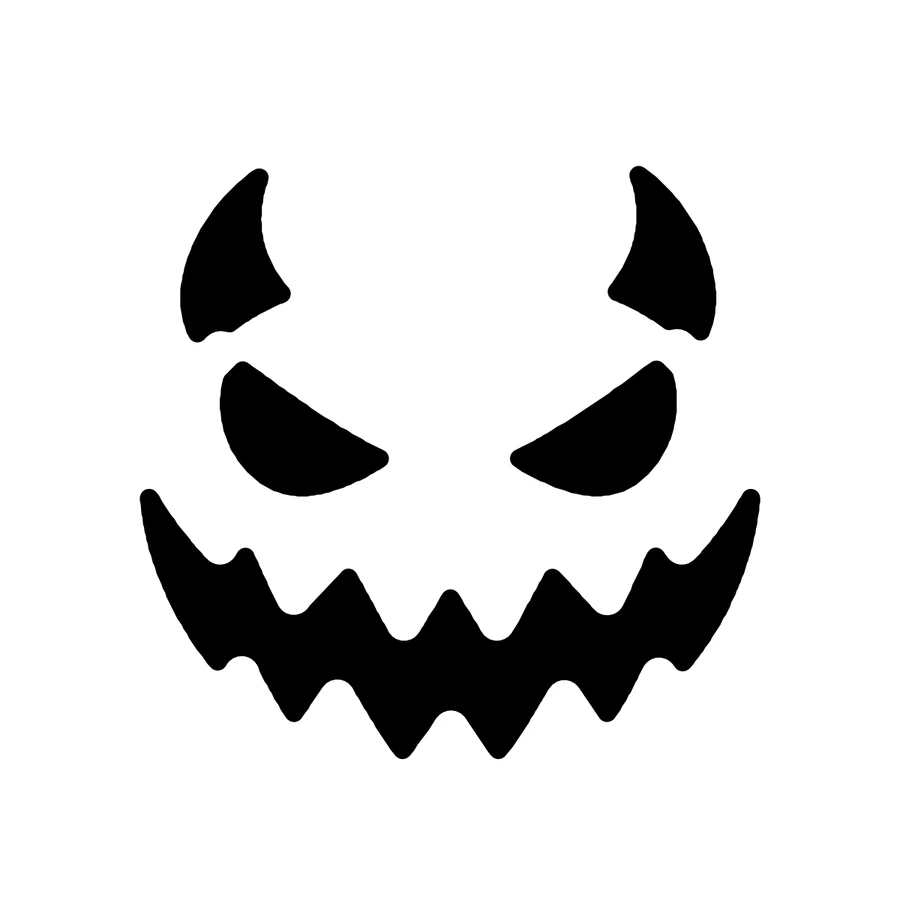
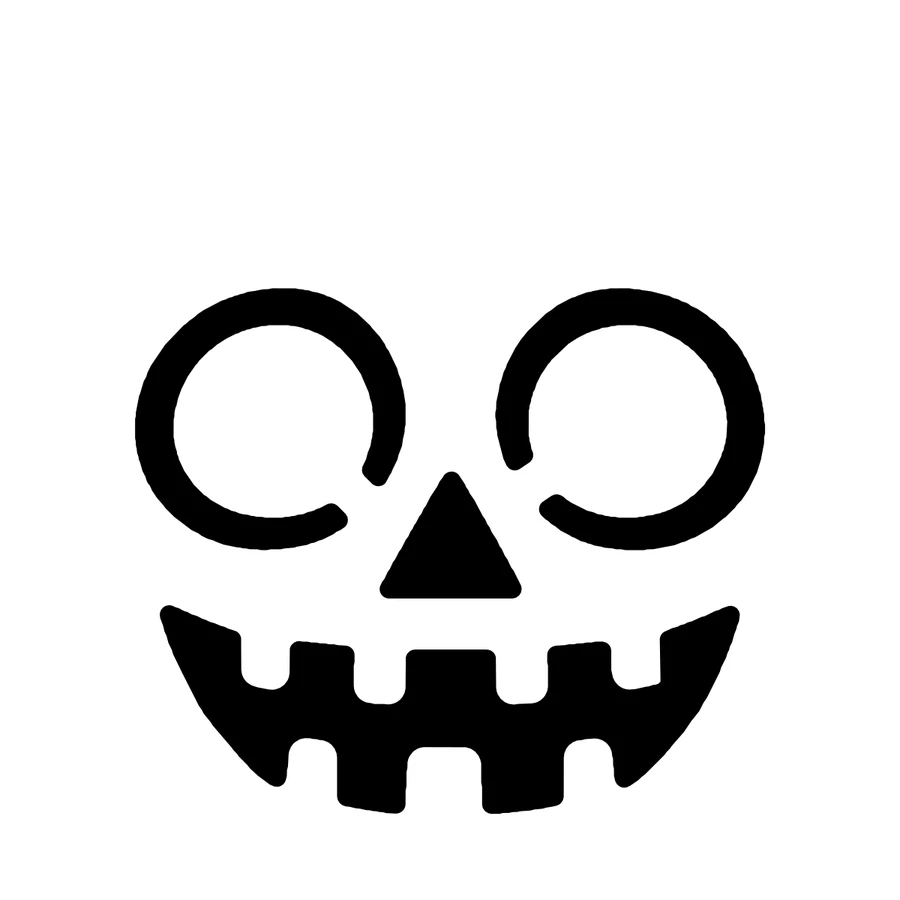
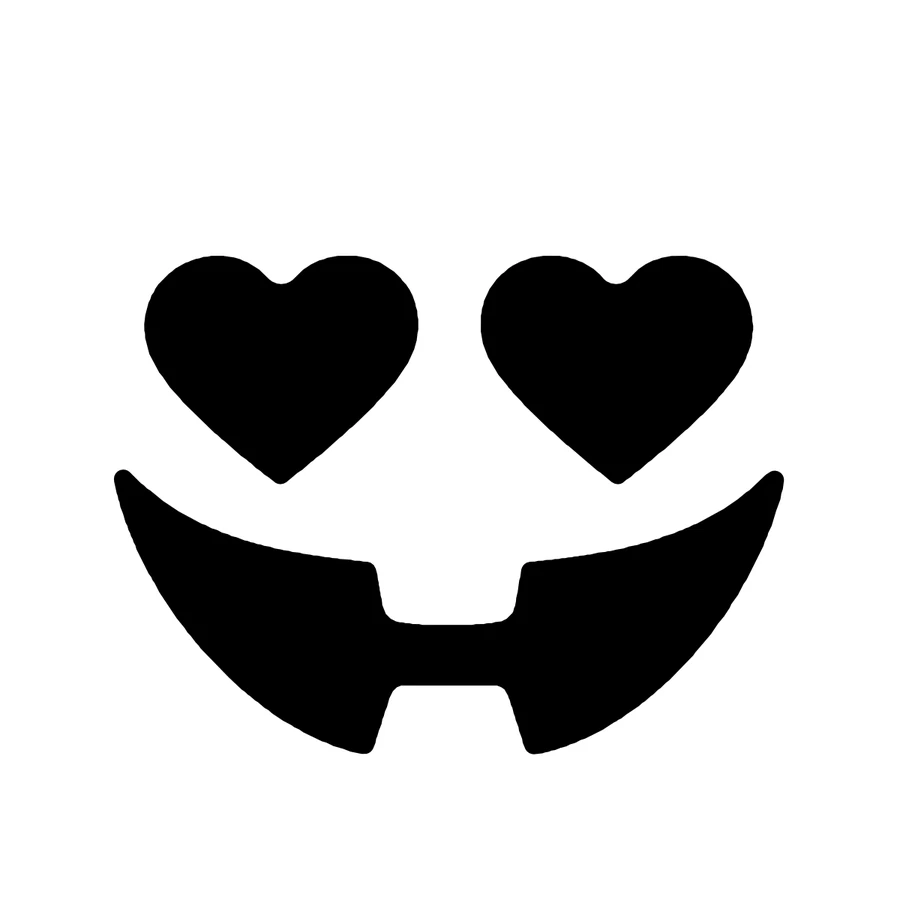
Free stencils to print
Each one prints at actual size on Letter or A4 and passed our carving checks, so every piece stays attached. Black areas are cut away and glow.









Ideas
Classic triangle face
Two triangle eyes pointing up, a triangle nose, and a crescent smile with two or three square teeth. Cut the nose first, then the eyes, then the mouth.
Angry glare
Tilt the triangle eyes so their inner corners point down to the nose, and flatten the smile into a straight or downturned mouth with pointed teeth.
Sleepy face
Cut each eye as a half circle with the flat side on top, like heavy lids, and add a small open yawn below. The half-closed eyes do all the work.
Crescent moon eyes
Cut two crescents curving upward for a happy squint, or downward for a sly look. Crescents read well at a distance and need only gentle curves.
Vampire face
Narrow slanted eyes and a wide mouth with two long fangs left attached to the upper lip. Cut the mouth as glowing space around the fangs.
One-eyed monster
One large round eye in the center with a pupil left as pumpkin, joined to the top of the eye by a bridge. Add a wide wavy mouth below.
Round surprised face
Two round eyes and a round O mouth, traced around a bottle cap and a glass. Small round holes can be drilled instead of sawn.
Gap-toothed grin
Cut a wide smile and leave one tall square tooth hanging from the top lip, off center. One tooth reads as goofy; several read as classic.
Two-faced pumpkin
Carve a happy face on one side and a scary one on the other, and turn it around halfway through the night.
Carving tips
- The eyes set the mood. Point the inner corners down for anger, up for worry, and keep them level for a classic look.
- Leave at least a finger's width of pumpkin between the eyes, nose and mouth so the face does not crack.
- Teeth stay as pumpkin, so cut around them and keep them attached to a lip. Each tooth should be at least as wide as your thumb.
- Place the face on the pumpkin's best side, with the stem centered above it, before you draw anything.
- Draw the face with a washable marker first. It wipes off, so you can adjust the eyes until the expression is right.
More help: How to carve a face into a pumpkin.
Carve something that's yours
CarveKin also makes a pattern from your own photo: your dog, your cat, your kid. We draw a few designs, repair them so every piece stays attached, and you print the one you like at the size you choose. One pattern is $4.99.
Make a pattern from your photo
More pumpkin carving ideas
Stencils were drawn from AI-made sample images and illustrations. Glowing views are digital previews, not photos of carved pumpkins.